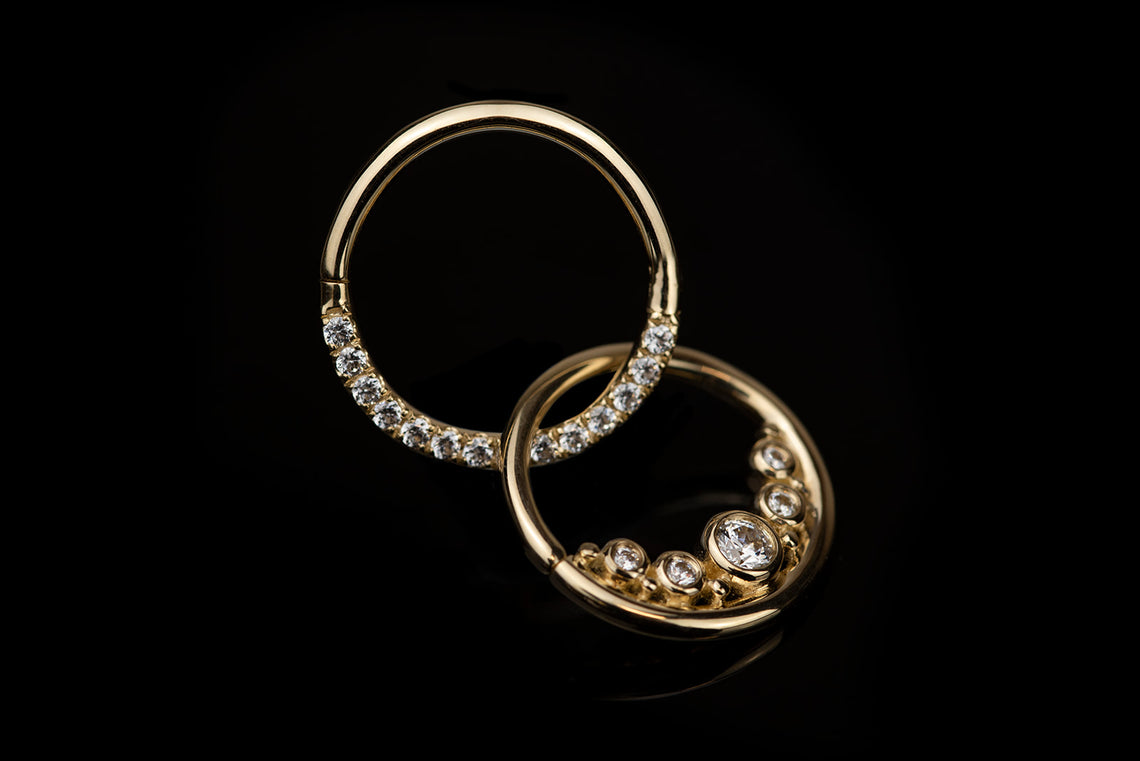
Piercing and Jewelry Photography 101

A large reason why people get piercings or buy jewelry in the first place is that it’s aesthetically pleasing. So, as a piercer, studio owner, jewelry salesperson (or all of the above) it is important for you to be able to showcase your amazing work/jewelry collections, in equally amazing quality photos!
In our last blog post Setting up an Online Store - Ecommerce Q&A we discussed the importance of establishing an online presence for your business. And the main component of creating a professional online persona is posting professional-looking photos to inspire your clients!
In this blog post, we will cover some tips and tricks to enhance your current portfolio photos, how to take clean product shots, and suggest a few pieces of gear for whatever budget you’re working with.
When taking your own product/portfolio shots there are a few key factors to keep in mind:
Lighting
Lighting is one of the key factors to getting a great looking product shot. The two main options for your light source will be using artificial studio lights and using good old fashion natural light.
There are pros and cons to both light sources, but the main being that daylight is not available at all hours, and artificial lights cost money.
If you choose to use artificial lights, LED panels or ring lights are your best options. These oftentimes come with dimmers and light temperature dials that give you more control depending on what look you’re going for. Here are a few options readily available that we would suggest:
If you choose to use natural light, the best time of day to take your photos will be mid-morning, when the sun is high in the sky, and your light will stay consistent for a longer period of time. As opposed to late evening or early morning when sunlight changes very rapidly in a smaller amount of time.
A cloudy day is ideal for shooting photos because you will be able to avoid harsh shadows cast by direct sunlight. This is because clouds act as a filter and diffuse the harsh sunlight, giving your subject an even amount of light across its surface.
We prefer to shoot right beside a window, or outside if weather permits! If you find one side of your jewelry is looking slightly darker, try bouncing some of the window light with a white piece of paper or bounce board. These can throw an impressive amount of light when angled correctly and can make the world of a difference!
Here is an option that we suggest
Lighting can also be used to add a bit of creativity to your shots and make them more your own. We love the way @pierced.conceptstore uses neon and LED lighting in the background of their photos to emulate the vibe they have in their physical studios. It adds a lot of visual interest, without taking away from the actual jewelry!
Clarity
The point of posting a picture of jewelry online is for your clients to get a better look at the piece, and really take in the details! This means all your pictures need to be in focus, and easy to decipher.
The background of your photos should also be complementary, without taking away from the jewelry itself. Depending on your taste, and your studio’s aesthetic you may opt for a background that matches your branding, or go the more traditional route by using a solid colour background. Either way, avoiding a busy or overly textured background is ideal!
We LOVE the way @mintpiercing incorporates crystals and greenery into their backgrounds, that is complementary to the interior of their studio! The way they balance a clean white background and natural props give a streamline look to their social media, but also keeps the focus on the jewelry.
If you’re looking for an easy background we always suggest shooting on something with a more matte finish. This will ensure that you don’t get any reflections or glare that may take away from the jewelry itself. A way to achieve this would be to use a lightbox or matte finish paper as your background.
Here is a link to a small lightbox we suggest:
Context
Making things clear for your clients is pertinent to making a sale! It can be extremely helpful for clients to see the jewelry with a bit more context, which in this case is an in-ear or in body picture to refer to!
Similar to clothing, most shoppers like to see how the piece will look on a body before purchasing.
A good time to gather in-ear/ in body photos is directly after you perform a piercing or jewelry change. If your client gives you consent, take the time to snap a few different photos of your work, in a couple of different locations in your studio.
Try utilizing window light, or go to an area of your studio that you know is well lit and bright! This will give you a couple of different options when it comes time to post your work online. We also suggest shooting a bit wider than you think necessary, because you can always crop a photo to zoom in, but you really can’t zoom out once the photo is taken!
If you don’t have a photo of a specific piece of jewelry already in a client, try popping it on a silicone ear, or even a paper diagram of an ear. This can make the world of a difference for some clients, and serve as a very helpful visual if you’re able to take a photo and post online.
Here is a link to a readily available silicone ear:
Gear
Professional photos do not necessarily have to be shot on professional gear. There are so many amazing gadgets that make taking great photos easy on any device.
These can include utilizing portrait mode on your phone, getting a clip-on macro lens for your mobile device, or investing in a great lens for a DSLR camera. These, of course, come at different price points, but will be a valuable investment for your business, no matter how much you choose to spend!
Here are a few pieces of equipment we recommend at different price points:
Lastly, an amazing resource for photo tips and tricks specifically for piercings and jewelry photography are asking your peers! A few of our team members have had great experiences asking for help from the contributors in the Piercing Photography 101 Facebook group. We will link it here as we believe it can be a very helpful resource and source of inspiration!
